This is a tutorial on the process of converting a group of similar products on Warhead into a variant. This tutorial is intended to be used if the products you are converting into variants have already been imported on to your site.
Section One – Finding and Tagging the Variants
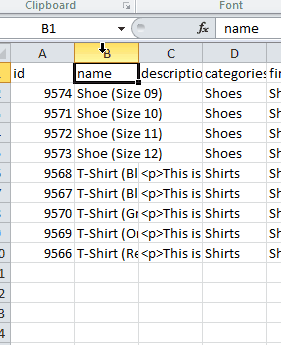
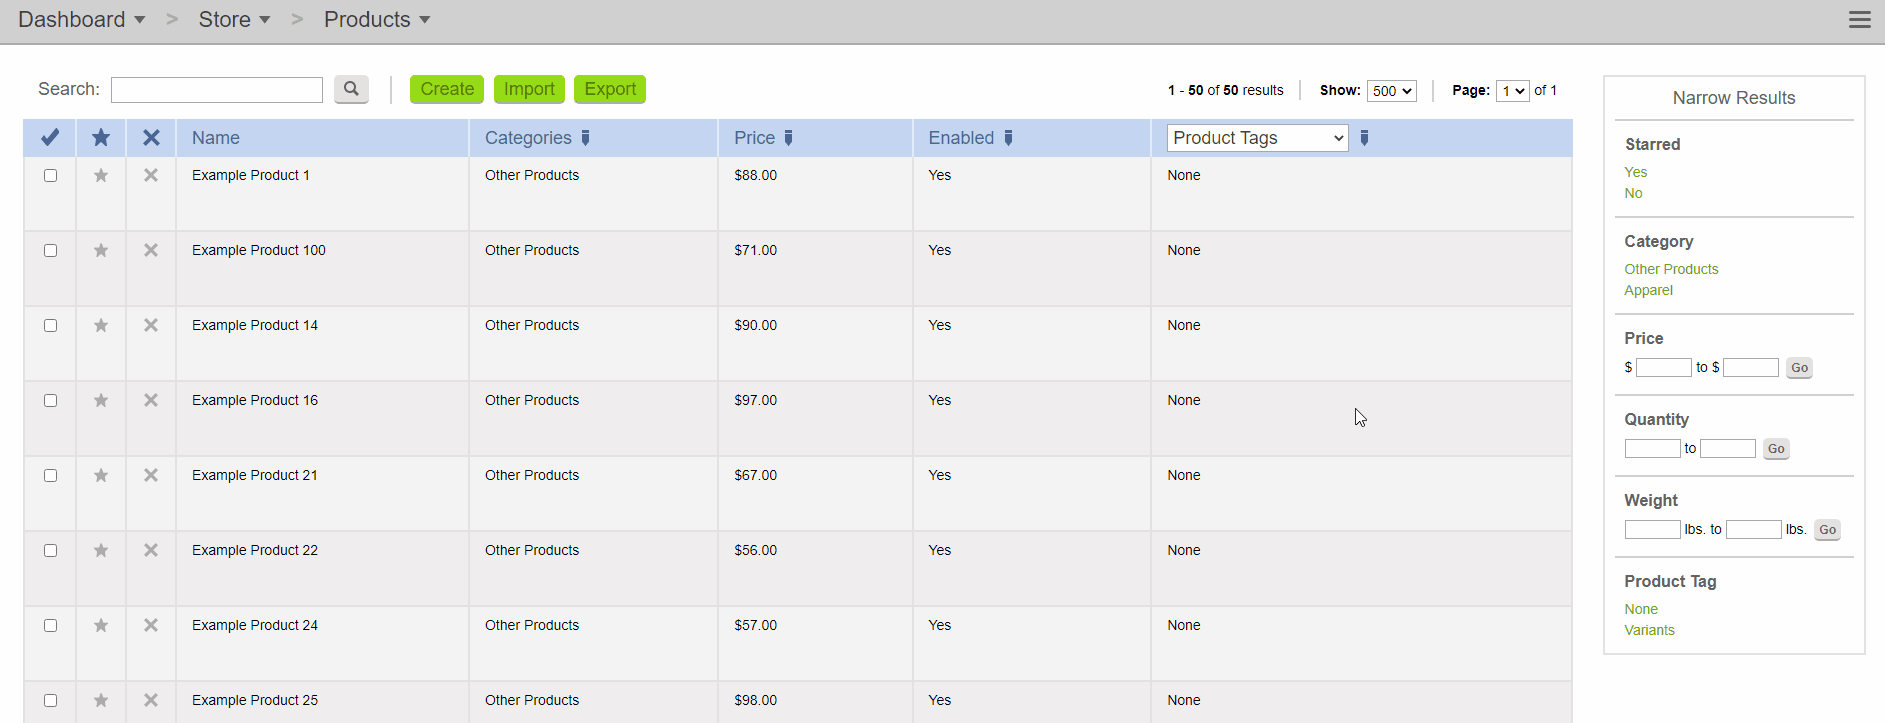
The first step of the process is to identify the products that are going to be converted into variants. Good candidates for variants are groups of products that have one or two differences between them, such as different sizes or colors, but are otherwise the same. One strategy to find products like this is by looking at the product images. In the Products section you can set the images to be shown using the dropdown in the rightmost column.
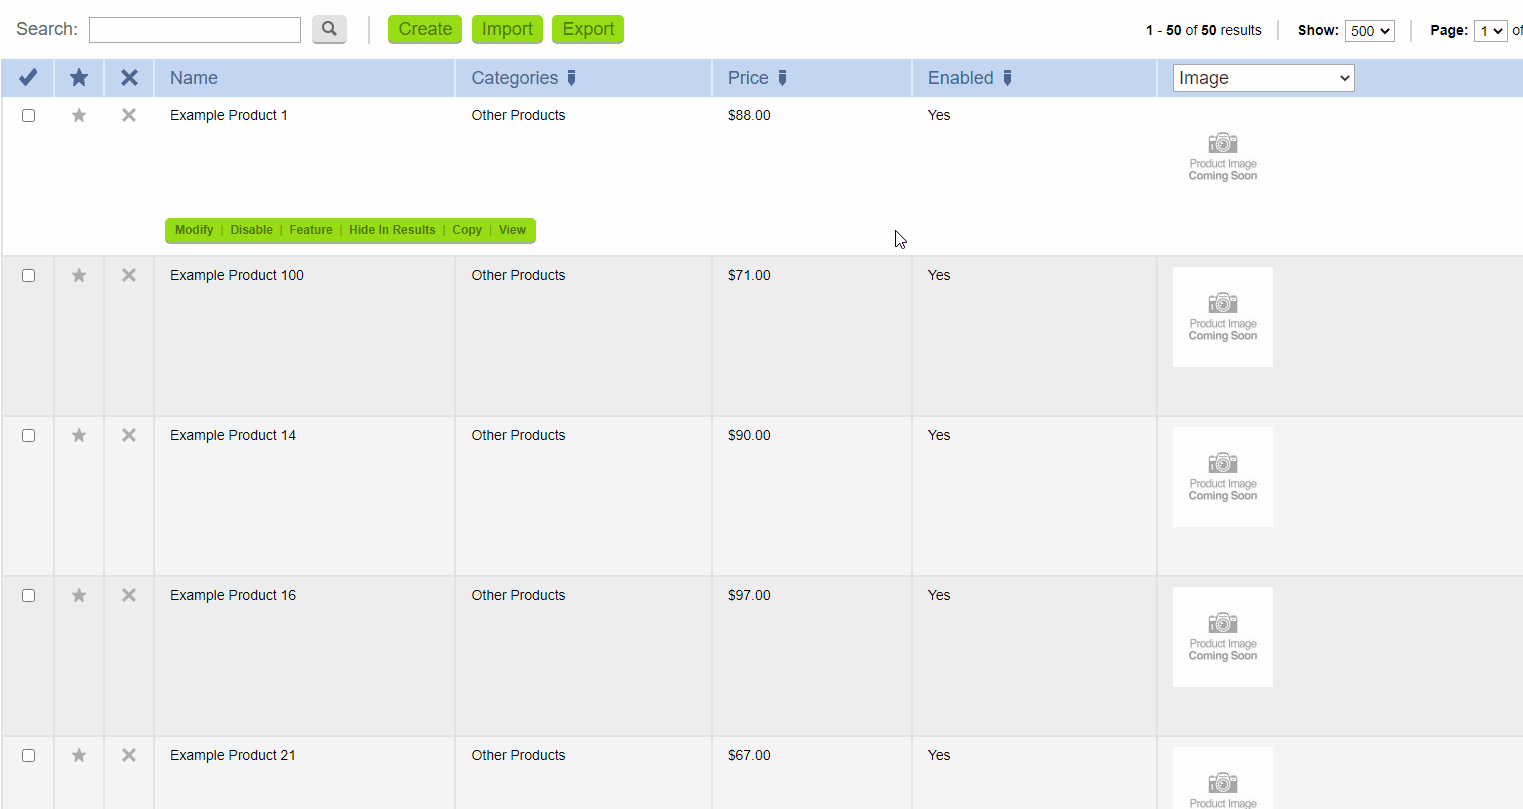
If there is a group of products that would make sense as a variant, you will want to select those products, and then star them. These starred products will be used in the next step. An example of starring the products is show below.
With the products that you are converting starred, you will need to do one more step before exporting the product spreadsheet from the site. This will be adding a Product Tag onto those products. The product spreadsheet that is exported will have all the products on it, but you will only want to be working on the products that you are changing into variants. Unfortunately, there is no option to filter by starred products on the spreadsheet, so we will use the Product Tags instead.
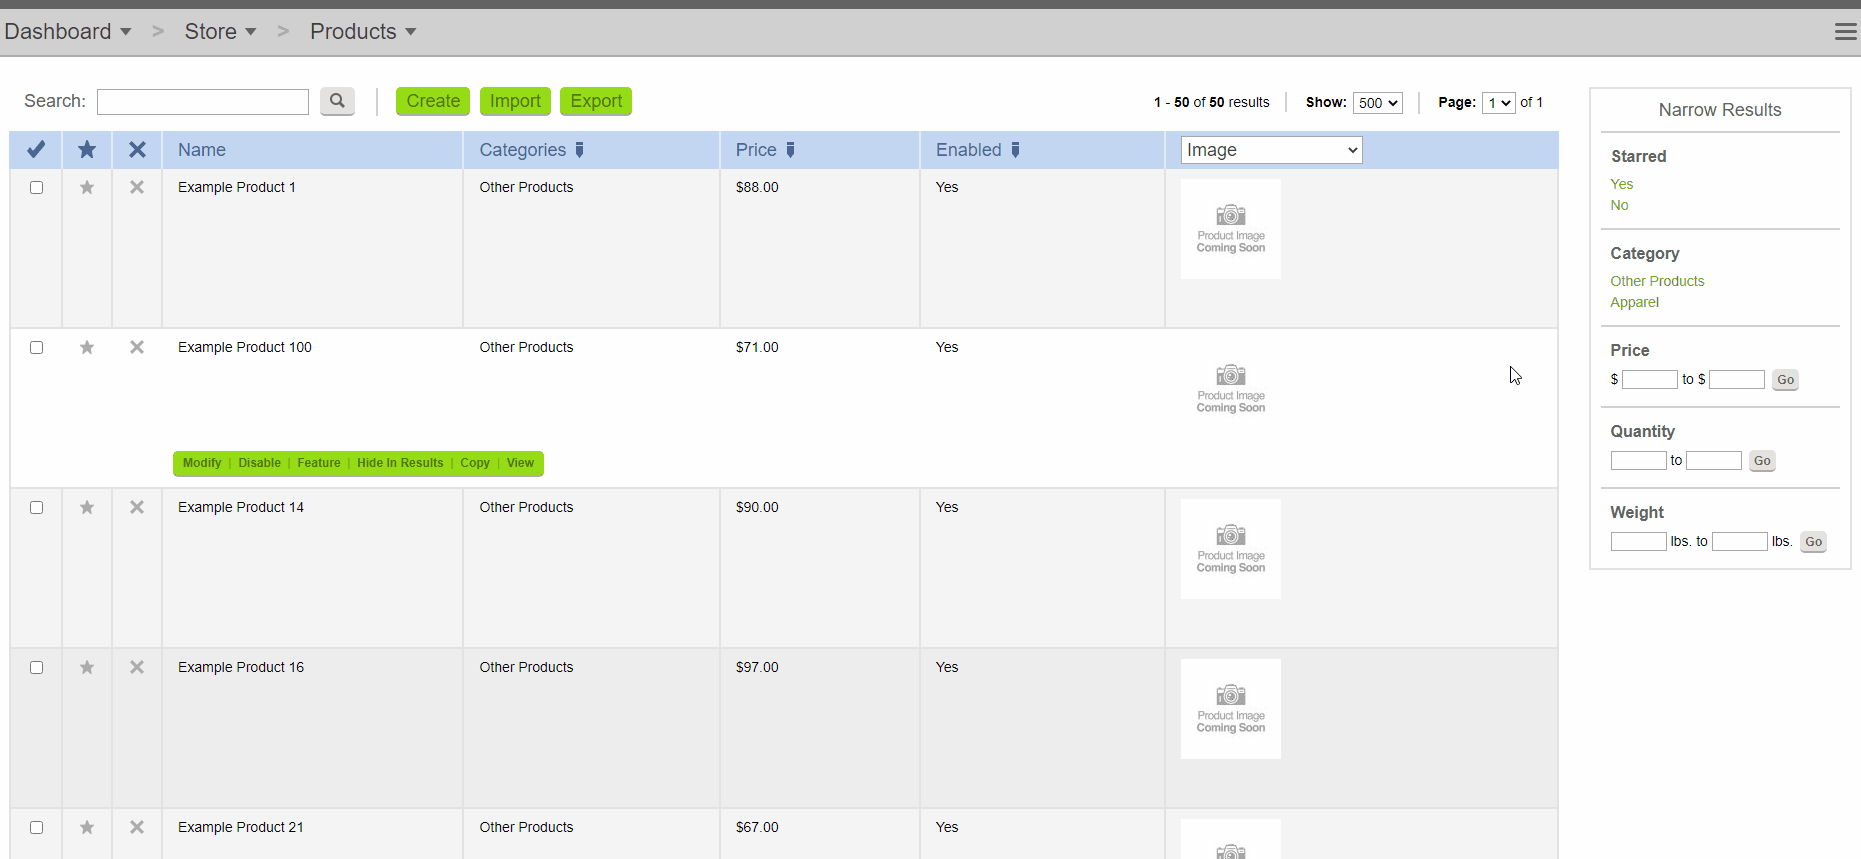
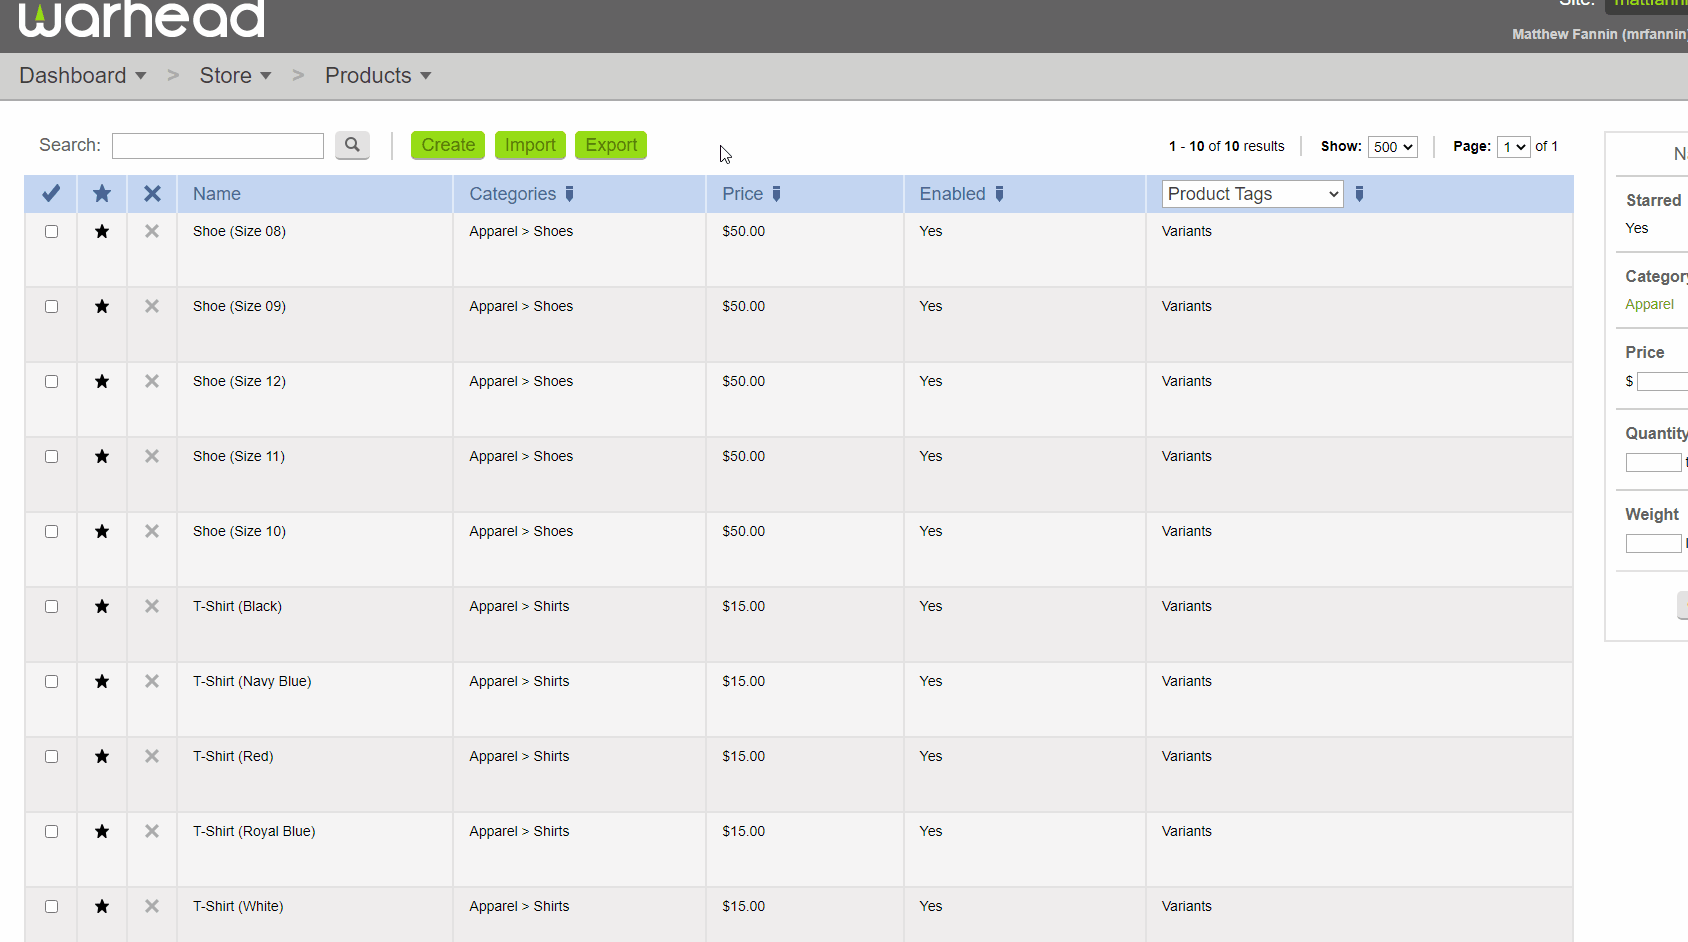
First, on the Products page, you will need to use the Narrow Results on the right side of the page to narrow down to the starred products, by click Yes under Starred. Next, you need to be showing the Product Tags column, which is done using the dropdown on the rightmost column. With that showing, you can select all the products by clicking the checkmark in the top-left corner of the product list, and then click the pencil icon next to Product Tags.
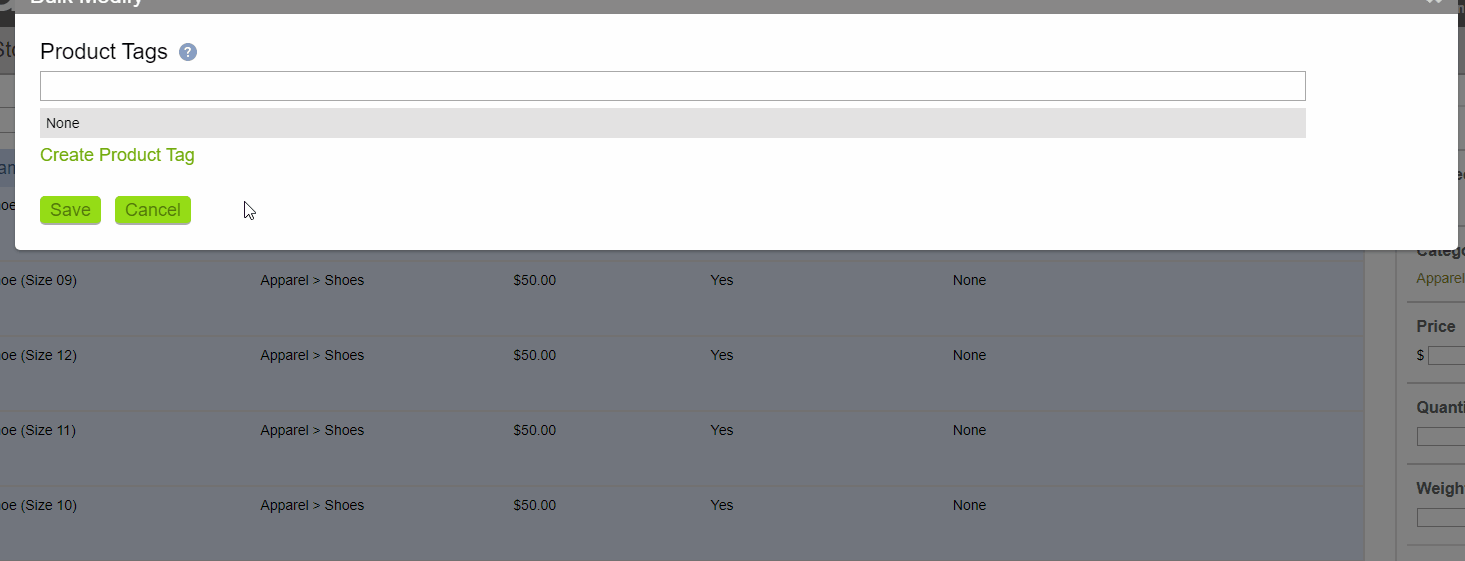
At this point, a window will open where you can add the Product Tags. If this is your first time doing this process, you will need to create the tag first. To do this, click Create Product Tag, enter Variants for the Name, and then click Save. If you have already created the tag before, type in Variants in the text prompt, select Variants after it pops up, and then click save. The page will refresh, and you should see Variants has been added in the Product Tags column.

Section Two - Exporting Product Spreadsheet
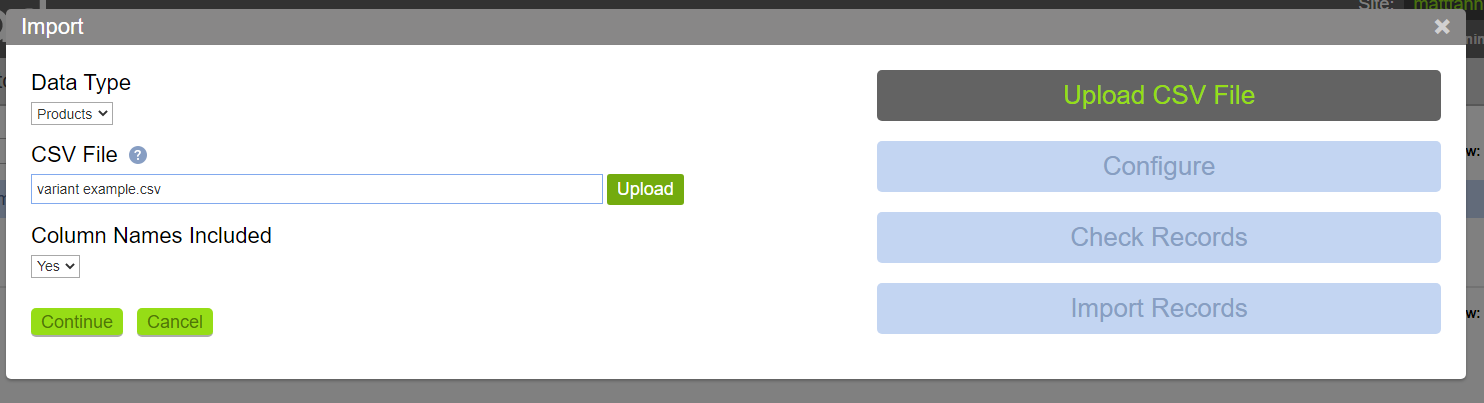
Most of the work that is needed to do the conversion is done on a spreadsheet, so you need to export the current product spreadsheet from Warhead. To export the product spreadsheet, you will want to navigate in Warhead to go to Products, and click the green Export button near the top of the page.
This will open the Export window. You do not have to change any options on this page, and can just click Export. After a few seconds a spreadsheet file will download, which you will need to open in a spreadsheet program (Microsoft Excel, Google Sheets, etc.).
Section Three – Finding the Products on the Spreadsheet
With the spreadsheet open, the first task will be finding the products that you tagged. This can be done using spreadsheet filters. Filters can be used to narrow down to certain rows on a spreadsheet, which in this case, will be rows that have Variants in the productTags column. To set up the filters, click the filter button at the top of the screen. Then, click the downward arrow next to productTags, and uncheck any options that are not Variants. When you click OK, only the products that you tagged should now be showing. This process is shown below.
Excel
Sheets
Now that the products are showing, you will want to move them to their own spreadsheet. You can click the plus icon in the bottom left to add a new sheet, and then copy and paste the rows from the original sheet to the new sheet, as shown below.
Excel
Sheets
Section Four - Formatting The Products
Now that you have the products separated, you will need to make a few changes to the data.
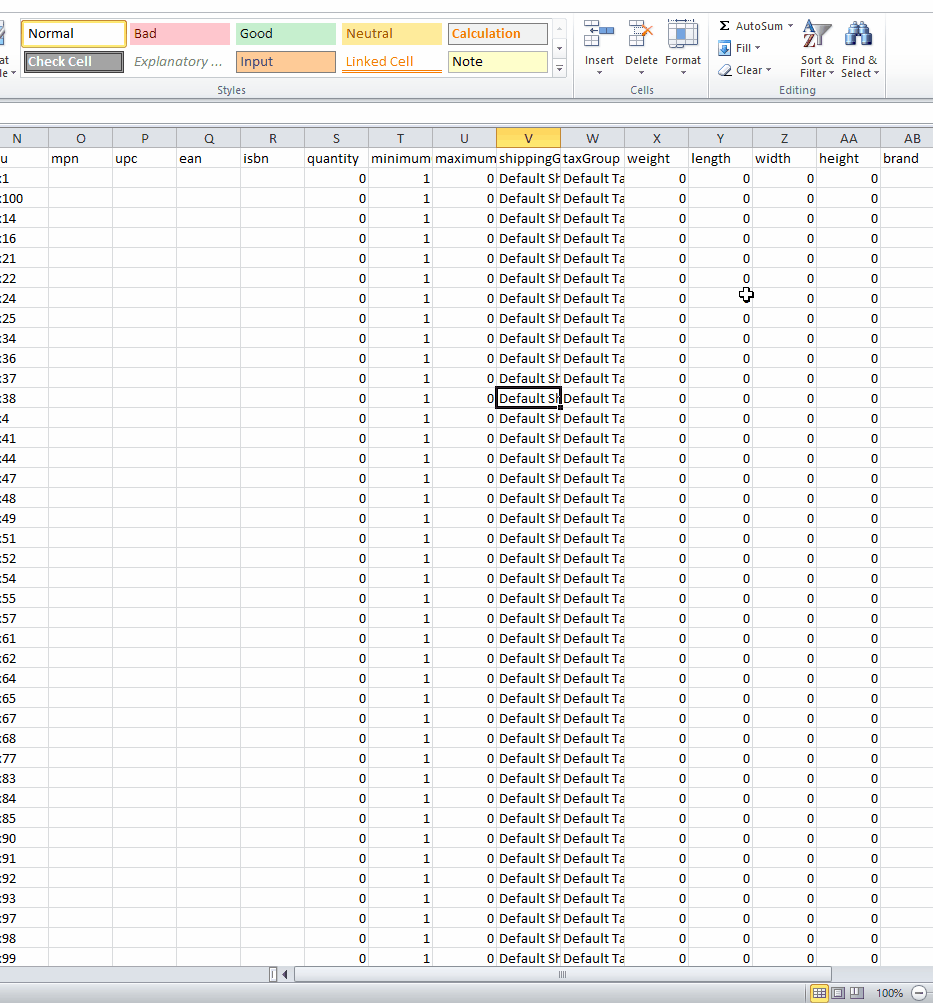
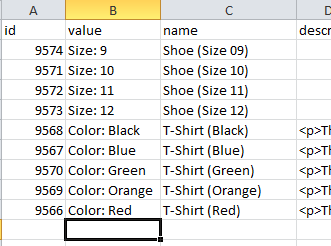
The first thing you need to do is insert a new column. This can be done by right clicking on the letter on the top of the “name” column, and then choosing insert, which will add a new blank column to the left.
Excel
Sheets
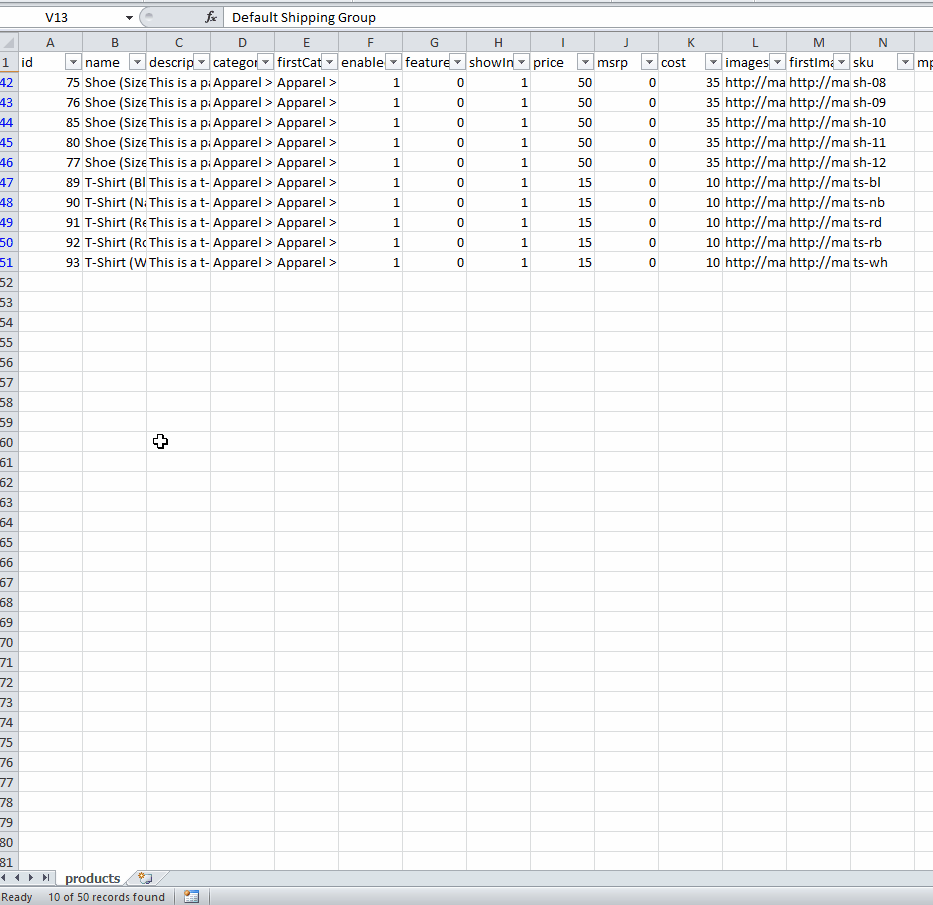
This column will be titled “value”, and will be where you are indicating what each particular variant is. The format for the information in this column is going to be “Type: Option”. For example, if the variant was colors, the format for this would be “Color: Red”. If the variant was size, the format would be “Size: Large”. An example of the “value” column is below.
Excel
Sheets
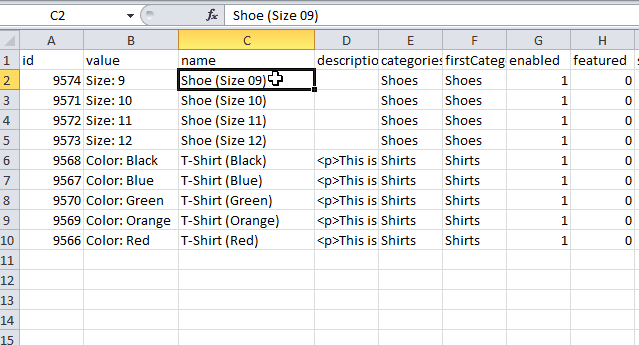
The other change that needs to be done is with the names of the products. All of the products that are made into a variant need to have the same name. One method for doing this is editing the first name in the group to the general name of the product, and then dragging the little square in the bottom right of the cell to copy that name down to the rest. This method is shown in the GIF below.
Excel
Sheets
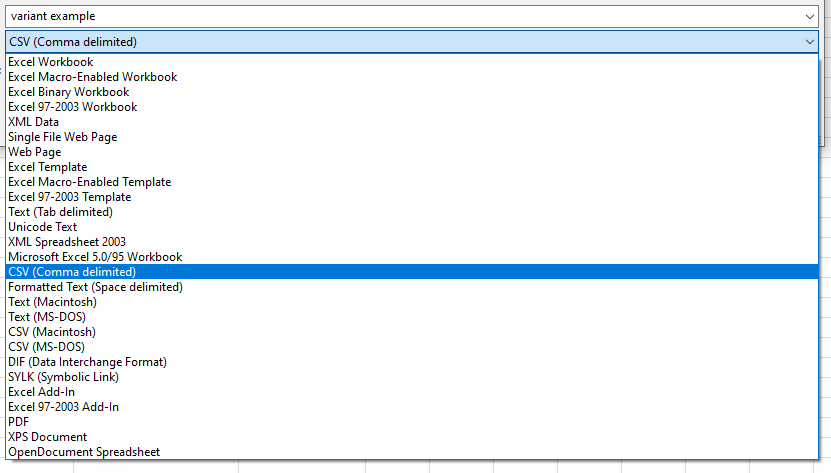
Those are the only changes that you need to make on the spreadsheet, and now it should be ready to import into Warhead. You will need to save this sheet separately, so go to File > Save As in Excel, or File > Download in Sheets. It is a good idea to rename the file, and also make sure that the file type is set to CSV, as shown below.
Excel
Sheets
Section Five - Deleting the Old Products
Before we actually import the variants, you need to delete the products that are still on the site. This is because if you tried to add the variants in right now, they would have the same SKUs as the old products, and you can’t have multiple products with the same SKU.
The process for this will be finding and selecting the products in Dashboard > Store > Products, and then clicking the X near the top of the page to delete those products. If you starred the products in the first step you can use the Narrow Results section to make finding the products easier. The GIF below shows that process.
Section Six - Importing Products
Now we are able to start importing the variants back into Warhead. This will be a two step process.
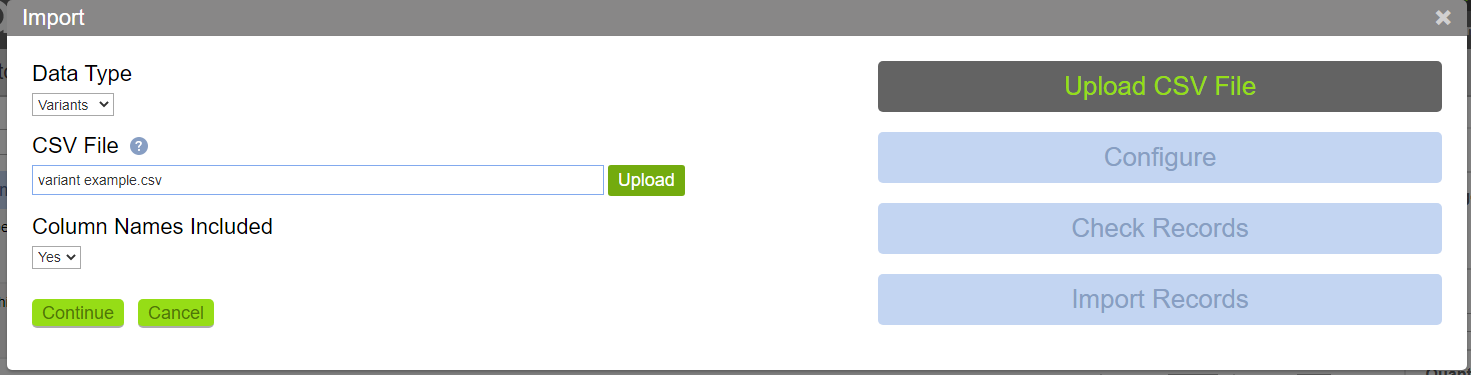
The first step is importing the spreadsheet as products. When importing variants they need to be matched up with a product that has already been created on the site, so those will be created in this step. First, select the green Import button at the top of the page. The data type should be left on Products. Next, click the green Upload button, and select the spreadsheet file. Now you can click on Continue to go to the Configure page.
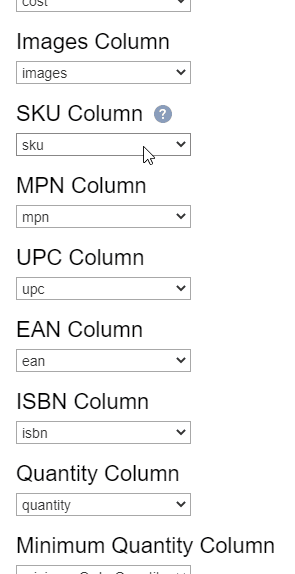
On the Configure page, you will only need to make one change. If the products we import have a SKU, it will not allow any of the variants that match that SKU to be imported. Because of that, you will need to not import the SKUs on these products. About halfway down the page, there will be a dropdown labeled SKU Column. Click the dropdown and then click on the top blank in the list. The GIF below shows that process.
Now you can click continue on the bottom of the page. It will go to the Check Records page, looking for any errors on the spreadsheet. There normally should not be any errors.
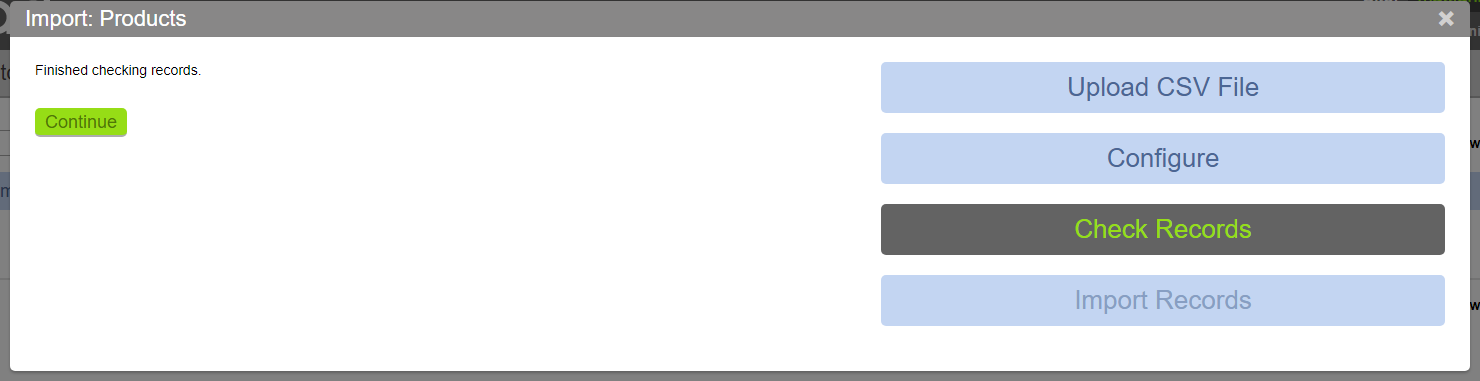
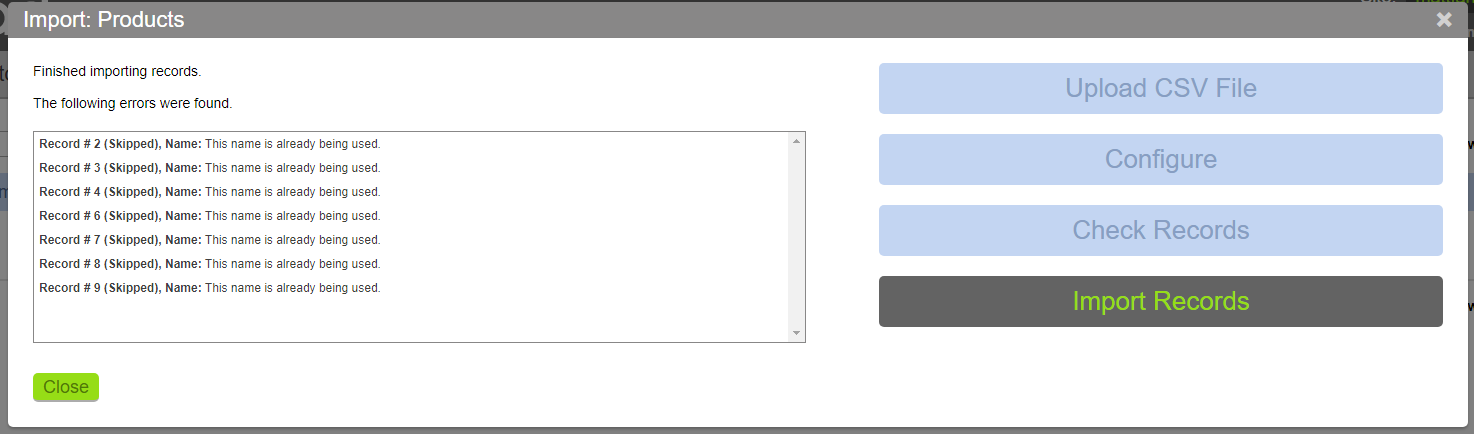
Click Continue again, and it will start importing the products. When it is done, there will be some errors that say the names of some of the products are already being used. This is normal, it just means that it created the products that we are going to add the variants onto, and then skipped creating them again as duplicates.
Now that it is done importing the products, you can close the Import window, and there should now be a product for every variant that you are importing.
Section Seven - Importing Variants
Now that the products are imported, the variants can be added on to those.
Again, you will want to start by clicking the green Import button on the top of the page. This time, the data type should be changed to Variants. Again, you can click the green Upload button to choose the same spreadsheet file, and then click Continue after that.
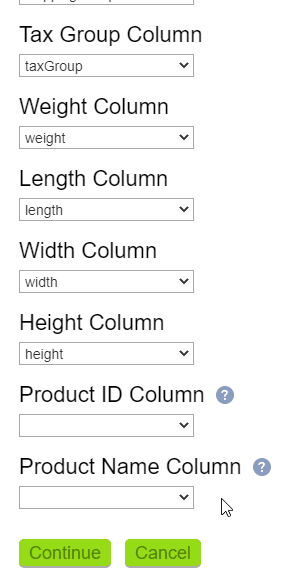
On the Configure page, you will not be unselecting any of the columns, but before moving on to the next page, and Product Name Column has to be selected. This is the last dropdown on the page, so scroll down and click in the dropdown and then select “name”, and then click Continue. The GIF below shows that process.
It will again go through Checking and Importing the records. Both of these processes should not have any errors.

When those are done, you can close the Import window, and the variants should now be on the site! Usually it is a good idea to take a look at each of the variant products on the site, just to make sure that they came in correctly.